The Tsunami Wave
The most common cause of a tsunami is an underwater earthquake.
Image: How Stuff Works (modified)
This diagram illustrates the difference between normal wind generated waves and tsunamis.
Download
Image: USGS (modified)
What To Do: When you are at the beach and feel an Earthquake: A strong off-shore earthquake may generate a tsunami. Therefore, if you feel the ground shake, evacuate to high ground immediately and return only after officials say it is safe to do so.
Tsunamis along the Pacific Coast. From southern British Columbia to northern California, people and property are at risk both from distantly and locally generated tsunamis. Recent studies indicate that about a dozen earthquakes (with magnitudes of 8 or more) have occurred in the Cascadia subduction zone west of Washington. (Map) In 1946, a tsunami was initiated by an earthquake in the Aleutian Islands of Alaska; in less than 5 hours, it reached Hawaii with waves as high as 55 feet.(NOAA)
More recently, in 1964, a magnitude 9.2 earthquake occurred in Prince William Sound, Alaska. The shock generated a tsunami that deviated many towns along the Gulf of Alaska, and left serious damage at Alberni and Port Alberni, Canada, along the West Coast of the United States (15 killed), and in Hawaii. The maximum wave height recorded was 67 meters at Valdez Inlet. Seiche action in rivers, lakes, bayous, and protected harbors and waterways along the Gulf Coast of Louisiana and Texas caused minor damage. It was also recorded on tide gages in Cuba and Puerto Rico.(USGS)
Tsunami Activity
The 1964 Alaskan tsunami generated waves of more than 20 feet at Crescent City, California, where it caused $7.5 million in damage and 11 deaths. It also produced waves ranging from 10 to 16 feet along parts of the California, Oregon, and Washington coasts.(USGS)
Photo: Del Norte CountyHistorical Society
1964 Crescent City Tsunami damage estimated at $7,414,000.
Understanding the Tsunami Wave
The rate at which a wave loses its energy is inversely related to its wavelength. Since a tsunami has a very large wavelength, it will lose little energy as it propagates. Thus, in very deep water, a tsunami will travel at high speeds with little loss of energy. For example, when the ocean is 6100 m deep, a tsunami will travel about 890 km/hr, and thus could travel across the Pacific Ocean in less than one day. (Washington State Dept. of Resources) Tsunami wave travel-time map
Warnings
When an earthquake that might generate a Pacific Coast Tsunami is detected, the Alaska Tsunami Warning Center and the Pacific Tsunami Warning Center calculates the danger and notifies the communities at risk. Those warnings may give people a few hours to prepare and evacuate (depending on the distance to the earthquake). If the earthquake occurs off our coast, however, there may be no time to send out hazard warnings. The first waves could arrive within minutes of the earthquake. The only tsunami warning might be the earthquake itself.
Kalutara Water Detail Imagery collected January 1, 2004Description:Area details before tsunami Download
Kalutara Water DetailImagery collected December 26, 2004Description:Receding waters from tsunamiDownload
Image: DigitalGlobe
Image: DigitalGlobe
Tsunami Warning Signs:
Posted along beaches throughout California to alert people to the potential danger.
Sumatra-Andaman Earthquake - December 26, 2004
A magnitude 9.0 (Mw) earthquake occurred on Sunday December 26 at 00:58 UTC of 6:58 AM local time in Sumatera. This earthquake occurred as the result of stresses generated by the motion of the Indo-Australian plate northeastward against the Burma subplate of the Eurasian plate at a rate of approximately 5 cm/yr (about two inches per year). Deformation of the Earth's crust in response to the plate motion takes place in a broad zone that spans the entire length of Indonesia extending north to the Andaman Islands of India and east of Timor Island. Aftershocks define a rupture zone about 650 miles long extending from Northern Sumatera to the Andaman Islands.
The earthquake produced a tsunami that affected the entire Indian Ocean. Peak runup was at least 20 meters (60 feet) in Indonesia and 5-10 meters in Sri Lanka more than 1000 miles from the source area. The first tsunami waves reached the coast of Northern Sumatera within minutes of the earthquake. The tsunami traveled outward across the Indian Ocean reaching Sri Lanka about 2 hours later. Somalia and the east coast of Africa were hit 7 hours after the earthquake.
The earthquake is the fourth largest global earthquake ever recorded since seismograph were developed in the late 1800s. It is an unprecedented event for the Indian Ocean in historic times. However paleoseismic studies of Kerry Sieh and his coworkers using corals to study early earthquakes on the Sumatran subduction zone estimated a M 8.8 9.2 earthquake occurred in 1833, (JGR, v. 104, no. B1, p. 895-919, 1999). They further infer that giant earthquakes break the subduction zone at intervals of about 230 years (2004 fall AGU abstracts T12B-04, PA23A-1444). Source: Dr. Lori Dengler, Humboldt State University
National Oceanic & Atmospheric Administration (NOAA) Computer animation of the recent tsunami wave.Animation (Animation takes a moment to load -- be patient)
Download QuickTime
Research Links
Alaska Tsunami Warning Center, Emergency tsunami information for Alaska, British Columbia, Washington, Oregon, California, and Hawaii.
California Tsunami Inundation Maps NOAA Center for Tsunami Research, Inundation mapping.
Caltrans Tsunami Signs Policy, California Department of Transportation's official notification of tsunami warning signs.
Designing for Tsunamis National Tsunami Hazard Mitigation Program, Seven principles for planning and designing for tsunami hazards.
Frequently Asked Questions About Tsunamis, National Oceanic and Atmospheric Administration (NOAA)
Humboldt State University Dept of Geology, Tsunami hazard maps, historic tsunami lists, a paleotsunami core and more.
Humboldt State University Dept of Geology, Redwood Coast Tsunami Work Group, working to reduce earthquake and tsunami hazards along California's north coast.
NOAA Tsunami Research Program. Pacific Marine Environmental Laboratory, wave animation, wave travel charts, amplitude chart.
NOAA The IOC Tsunami Glossary, A 20 page document containing definitions and vocabulary used in the study of tsunamis.
On Shaky Ground, On Shaky Ground, A handbook prepared by Humboldt Earthquake Education Center.
Pacific Tsunami Warning Center, Emergency tsunami bulletins, safety, maps, and information for the Pacific and Hawaii.
Tsunami Mitigation Program within the California Earthquake Loss Reduction Plan, Tsunami assessment, education, warning, and mitigation efforts intended to reduce losses related to tsunamis.
Tsunami Publications, Western States Seismic Policy Council (WSSPC) Alaska, British Columbia, California, Guam, Hawaii, Oregon, Washington.
TsunamiReady, National Weather Service (NWS) initiative that promotes tsunami hazard preparedness as an active collaboration among Federal, state and local emergency management agencies, the public, and the NWS tsunami warning system. This collaboration supports better and more consistent tsunami awareness and mitigation efforts among communities at risk. The TsunamiReady program is based on the NWS StormReady model. The main goal is improvement of public safety during tsunami emergencies. (NWS)
Tsunami Threat to California, Findings and Recommendations of Tsunami Hazards and Risks. Appendix A: Report No. 05-03, (CSSC)
USC Tsunami Research Center, is an organization dedicated to the investigation of natural disasters known as tsunamis. Research includes field surveys, numerical and analytical modeling, hazard mitigation maps for California and planning.
Wednesday, September 30, 2009
Subscribe to:
Post Comments (Atom)
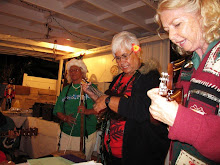
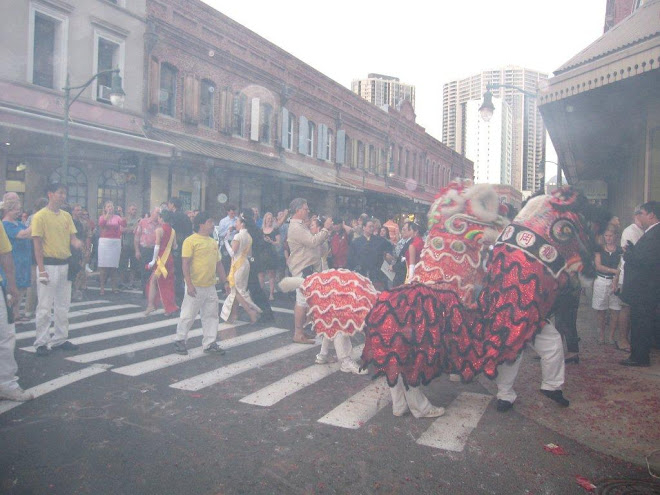
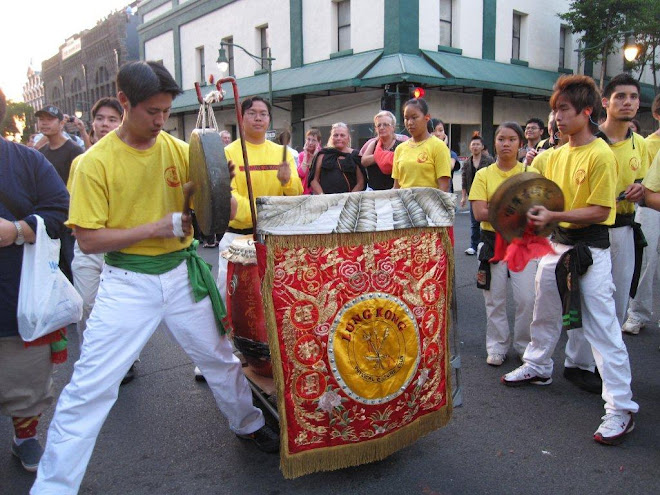
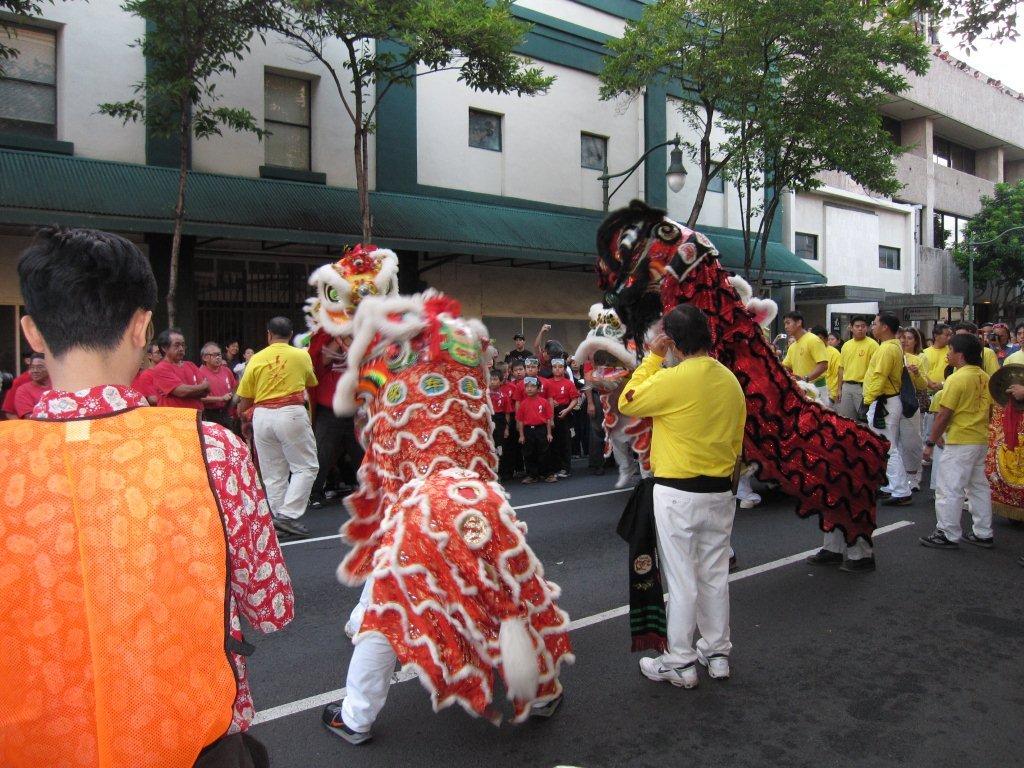
The Brothers Cazamero
Kayak Paddling Techniques
by Marty Grabijasfirst appeared in Kayak Touring 2005
A forward stroke is one of paddling’s “gifts.” Your first lesson in how to execute a forward stroke probably sounded something like, “Plant at your feet and pull on the paddle.” While that explanation got you moving forward, it would do little to help you make time to your destination when the sun is getting low and shadows are getting long. Learning a powerful and efficient forward stroke is less about muscle and more about proper technique that must be perfectly practiced until it is automatic. And that perfect practice will keep you going out on the water over and over—hence one of paddling’s gifts—experiencing epic sunsets and sublime moments when other paddlers are at home watching reality television.
While everyone’s body moves and functions differently, efficient and powerful forward strokes carry three universal traits: powerful rotation of the torso, which originates in the hips; a silent and deliberate plant; and applying full force in the first seven to eight inches of the stroke with the paddle shaft as vertical as possible.
Top indicators for achieving massive torso rotation
Here we see that the paddler’s body is fully rotated—so much so that the paddle is almost parallel with the boat’s keel line.
Looking at the PFD, you can see that the front zipper is well off to the side, indicating that the rotation is happening deep in the torso and not just in the shoulders.
While there is tension in the torso that is ready to be unleashed, the paddler’s arms are relaxed, and the paddle is poised for a powerful plant.
When it’s done properly, you should even feel your butt shifting position in your seat as you rotate.
Technique tune-up tip: Hold your paddle in the air parallel to the keel and at shoulder-to-eye height between each stroke for 20 strokes when you first get out on the water. Count “one thousand, two thousand” and then plant. Olympic sprint racers call this “air time.” It helps develop rotation, balance, and a powerful plant.
How to make your paddle plant silent and powerful
Your paddle blade should enter the water with just a whisper.
The paddle blade should enter the water tight to the boat, and the shaft should be more vertical than you are probably used to.
The plant and pulling on the blade are two separate and distinct movements—fully rotate and then submerge the blade with a stabbing motion before pulling.
Keeping your grip loose will allow you to extend your plant.
Technique tune-up tip: Place a small piece of duct tape on your deck two inches ahead of where you typically plant. Let this be your target. Try to hit it by rotating your torso and relaxing your grip—not by bobbing forward at the waist.
Unleash the power
If you have done everything correctly, your torso will be wound up at the hips, ready to unleash the power that is stored.
Visualize lifting your butt off the seat with only your foot connecting to the foot brace and your blade connecting to the water.
Stop applying power almost immediately—when the blade reaches your knee or sooner.
Technique tune-up tip: Sit up straight and keep your grip loose. Try to lose contact with your cockpit’s back band—this is a good indicator that you are indeed sitting upright and not just in your usual everyday position. A loose grip will keep your body relaxed and poised for powerful and effortless miles.
Like a martial artist practicing a specific sequence for years and striving for fluidity, you should focus your technique work on achieving perfect form. Moving the boat faster with less effort will come as a by-product of proper technique.Marty Grabijas is an ACA Instructor for Coastal Kayaking and an Instructor Trainer for Whitewater Kayaking.
Introduction To Hawaiian Outrigger Canoeing
Makaha Makahiki 2009
Hawaiian Outrigger Canoe Kioloa (Seat Positions and Canoe Nomenclature)
Hawaiian Paddlilng Words
Hawaiian Language: paddling termsby Terry Wallace
Ho‘owala‘au wa‘a - canoe talk.
Ha‘awina (lesson)
In every sport or job there is a special language. Words are used in this specialty like no other. For example, Navy terms. This also works for paddling the Hawaiian canoe.
If Na Ho‘okele (steerers) use the same language for commands universally, there will be little or no confusion on the part of the paddlers. These commands can and should be used to familiarize the crew with the language. The same language used consistently also gives
Ho‘okele (steerer) control of the canoe and used to the idea of giving commands.
UNE = pronounced OO-NAY. To “lever.”This is the action
MUA (stroker and sometimes others) takes to help HO‘OKELE (steerer) turn the bow of the canoe going around the turn flag. This can be ANY movement of the paddle, from a J-stroke to paddling toward the hull. I have heard this term mis-pronounced UNI = OO-NEE. This word is not in the Hawaiian dictionary.
KAHI = pronounced, KAH-HEE. To “cut.”Holds the paddle still, blade “cutting” in the same line as the canoe. No “action” taken.
PAHI = pronounced PAH-HEE. Edge, the blade or knife edge.
These are commands that can be used by Ho`okele in the canoe.
‘E ‘E! = pronounced ay ay (this is hard to describe..... actually a very short “‘e”). Get in the canoe!
HO‘OMAKAUKAU! = pronounced Hoh oh MAH cow cow. Get ready or get set! This can be whatever you think “get set” means. Paddle across the gunwales, or poised to plant the blade in the water or whatever.
KAU! = pronounced kah oo. Place (or plant) the blade!
If it’s training:HOE = pronounced ho aee. Paddle! And off you go.
If it’s racing:
HUKI!!!!!!!!!! = pronounced hoo key. Pull, GET INTO IT!
All of the following terms are from either Hawaiian Dictionary by Pukui & Elbert or The Hawaiian Canoe by Tommy Holmes
Many of these terms have other meaning as well as allegorical meanings or Kaona (the hidden meaning) other than used here.
Some kinds of Hawaiian Canoes:
wa‘a: generic term for canoe
heihei: a race of any kind including a canoe race
‘au wa‘a: a fleet of canoes
‘auwa‘a ‘a ho‘`apipi: two canoes hastily joined to form or to use as a double canoe
wa‘a kaulua: another term for double canoe
kaukahi: a single canoe with an outrigger
kialoa: a long, light, and swift canoe used for racing & display. This term may also refer to a beautiful woman and her shape. Queen Ka‘ahumanu was referred to as “Kialoa” in her youth.
Ko‘okahi: OC1
Ko‘olua: OC2
Ko‘oha: OC4
Ko‘eono: OC6
Wa‘a ‘Apulu: an old, worn-out canoe. Also an old person.
Hawaiian Paddling Words
Just For Fun... Hawaiian Paddling Words:
'aha: braided or twisted cord used in lashing the canoe
'akea: hull of an outrigger canoe
ama: float on an outrigger canoe
awa: harbor, port, cove
hana ka hoe, Pa'a ka waha: don't talk, just paddle
heohei wa'a: canoe race
hoe: paddle; to paddle
huli: to turn or flip over; capsize
ikaika: strong; powerful
kai: ocean; sea
le'ala'a: fun
maika'i loa: excellence
makai: towards the ocean
malia: a class of canoe
manulele: flying bird
mauka: inland - towards the mountains
ohana: family
okole: butt
nalu: wave
piliahola: friendship
'uhane hele: travelling spirit
wa'a: canoe
wa'a kaukahi: a single-hulled canoe
wa'a kaulua: double-hulled canoe
Paddling Techniques And Exercise Advice
Outrigger Paddling
Paddling technique is not so much a matter of definitives but rather a series of theories and opinions. However over recent years where paddle-sports have taken on a higher professional profile so too has there been a deeper study into the mechanics of efficient paddling techniques related to any given paddle craft. Jason Somerville-Kimlin of Mooloolaba Outrigger Canoe Club, formerly of Outrigger Australia and one of Australia's most respected and experienced outrigger paddlers, outlines what is currently being promoted as the most efficient use of both body and blade.
AN EFFICIENT TECHNIQUE IS THE KEY TO ENJOYABLE AND FAST OUTRIGGER CANOEING. In any endurance sport efficiency is the key to getting the best results with the least amount of effort and of all canoeing, outrigger and marathon racing puts the highest premium on efficiency. Observing a canoe race, you'll notice the leaders go by looking relaxed and going fast. Sometimes they don't appear to be working very hard. Then the rest of the teams follow, each one going slower but appearing to be working much harder than the leaders. What's going on here? Do the leaders have a much faster canoe? The fact is, they are simply much more efficient in their technique than the teams which they are beating. Outrigger canoe racing is an endurance sport. The leaders of a cross-country ski race or a runner in a marathon or triathlon appear to be gliding along with minimal effort. Their motions are just enough to get the job done without wasting precious energy. Hence the rule in endurance sports: WORKING HARD DOES NOT ENSURE THAT YOU ARE GOING TO GO FAST! You can take your paddle and attack the water with it, straining every muscle in your body, throwing up big rooster-tails behind you, or you can slice your blade into the water, anchoring it solidly and using your entire torso, pulling it smoothly and evenly with much better results. Not only is good technique energy-saving and fast, it is easy to learn because it is so simple. Part of the learning process requires that you have a clear picture in your mind of how a paddler moves the canoe through the water. THE CANOE IS BEING PULLED FORWARD THROUGH THE WATER UP TO THE PADDLE, WHICH ACTS AS AN ANCHOR IN-THE WATER (AKIN TO A MOUNTAINEER CLIMBING UPWARD WITH THEIR ICE AXE). THE CANOE IS BEING PULLED FORWARD NOT PUSHED. Reach forward as far as you can without bending or hinging at the waist, at the beginning of the stroke. Remember this principle and you overcome one of the major technical problems most canoeists have, that is, trying to move the canoe forward by pushing through entering the paddle too far back and continuing the stroke too far behind. TO PULL RATHER THAN PUSH THE CANOE THROUGH THE WATER, REACH FORWARD AS FAR AS YOU CAN (WITHOUT BENDING OR HINGING AT THE WAIST) AT THE BEGINNING OF THE STROKE AND END THE STROKE JUST BEFORE YOUR LOWER HAND REACHES YOUR HIP. Use your body in the stroke. Most paddlers are all arms, attempting to generate all the power with the relatively small bicep and tricep muscles of the arms rather than using, in combination, the muscles of the torso which are far larger and more capable. By keeping the stroke in front of you, you will be leaning slightly forward and you using the stomach and back muscles by rotating on (around) your spine. Dropping your lower shoulder and rotating, you will be able to extend and pull on that arm using the latissimus dorsi muscle of your back. Using the larger, stronger muscles of the torso is one of the secrets behind the leaders looking less wiped out at the finish line than the stragglers. Entering the blade rather than attacking, or stabbing at the water place the blade cleanly in the water. Do not start the stroke until the blade is in the water (this will cause cavitation and you will not get full power from your stroke). A clean, silent entry is the beginning of a good stroke. Note too, that your lower arm should be fully extended and straight. Pull the canoe up to the blade and firmly anchor the blade in deeply before making the pull; pull down and across with your top hand and down and back with your lower hand, keeping your elbows locked. If you have sliced the blade in cleanly and buried the whole blade in the water you will have a solid anchor from which you can pull the canoe. You have now come to the main part of the stroke where your objective is to lever yourself and the canoe forward to the anchor point of the paddle. Your lower body should be firmly positioned in the canoe to fully transfer energy from the paddle to the canoe. Likewise, you do not want any extra movement in your arms that would absorb or deflect energy from moving the canoe forward. This involves keeping your arms in the entry position, swinging down and through from your shoulders. Try to push down and across with your top hand and pull down and back on your lower hand, smoothly and equally. Watch your hands and make sure that they move through the stroke at the same rate, neither faster than the other. End the stroke just before your lower hand reaches your hip.
Helpful Hints
Try the techniques shown with locked elbows, this will force you to sit up and rotate.
Add the minimum bend necessary to your arms for comfort.
Try to keep a flat back and keep your chin up, this will afford the maximum oxygen and will help keep your shoulder and neck muscles relaxed.
Don't forget to get drive from your leading leg.
Keep your face muscles relaxed and remember to breath!
Keep your concentration in the canoe and remember that is it the thoughtful application of power that makes each and every stroke count.
Cardiovascular Exercise and Fitness Paddling
In any endurance sport efficiency is the key to getting the best results with the least amount of effort and of all canoeing, outrigger and marathon racing puts the highest premium on efficiency. Observing a canoe race, you'll notice the leaders go by looking relaxed and going fast. Sometimes they don't appear to be working very hard. Then the rest of the teams follow, each one going slower but appearing to be working much harder than the leaders. What's going on here? Do the leaders have a much faster canoe? The fact is, they are simply much more efficient in their technique than the teams which they are beating. Outrigger canoe racing is an endurance sport. The leaders of a cross-country ski race or a runner in a marathon or triathlon appear to be gliding along with minimal effort. Their motions are just enough to get the job done without wasting precious energy. Hence the rule in endurance sports: WORKING HARD DOES NOT ENSURE THAT YOU ARE GOING TO GO FAST! You can take your paddle and attack the water with it, straining every muscle in your body, throwing up big rooster-tails behind you, or you can slice your blade into the water, anchoring it solidly and using your entire torso, pulling it smoothly and evenly with much better results. Not only is good technique energy-saving and fast, it is easy to learn because it is so simple. Part of the learning process requires that you have a clear picture in your mind of how a paddler moves the canoe through the water. THE CANOE IS BEING PULLED FORWARD THROUGH THE WATER UP TO THE PADDLE, WHICH ACTS AS AN ANCHOR IN-THE WATER (AKIN TO A MOUNTAINEER CLIMBING UPWARD WITH THEIR ICE AXE). THE CANOE IS BEING PULLED FORWARD NOT PUSHED. Reach forward as far as you can without bending or hinging at the waist, at the beginning of the stroke. Remember this principle and you overcome one of the major technical problems most canoeists have, that is, trying to move the canoe forward by pushing through entering the paddle too far back and continuing the stroke too far behind. TO PULL RATHER THAN PUSH THE CANOE THROUGH THE WATER, REACH FORWARD AS FAR AS YOU CAN (WITHOUT BENDING OR HINGING AT THE WAIST) AT THE BEGINNING OF THE STROKE AND END THE STROKE JUST BEFORE YOUR LOWER HAND REACHES YOUR HIP. Use your body in the stroke. Most paddlers are all arms, attempting to generate all the power with the relatively small bicep and tricep muscles of the arms rather than using, in combination, the muscles of the torso which are far larger and more capable. By keeping the stroke in front of you, you will be leaning slightly forward and you using the stomach and back muscles by rotating on (around) your spine. Dropping your lower shoulder and rotating, you will be able to extend and pull on that arm using the latissimus dorsi muscle of your back. Using the larger, stronger muscles of the torso is one of the secrets behind the leaders looking less wiped out at the finish line than the stragglers. Entering the blade rather than attacking, or stabbing at the water place the blade cleanly in the water. Do not start the stroke until the blade is in the water (this will cause cavitation and you will not get full power from your stroke). A clean, silent entry is the beginning of a good stroke. Note too, that your lower arm should be fully extended and straight. Pull the canoe up to the blade and firmly anchor the blade in deeply before making the pull; pull down and across with your top hand and down and back with your lower hand, keeping your elbows locked. If you have sliced the blade in cleanly and buried the whole blade in the water you will have a solid anchor from which you can pull the canoe. You have now come to the main part of the stroke where your objective is to lever yourself and the canoe forward to the anchor point of the paddle. Your lower body should be firmly positioned in the canoe to fully transfer energy from the paddle to the canoe. Likewise, you do not want any extra movement in your arms that would absorb or deflect energy from moving the canoe forward. This involves keeping your arms in the entry position, swinging down and through from your shoulders. Try to push down and across with your top hand and pull down and back on your lower hand, smoothly and equally. Watch your hands and make sure that they move through the stroke at the same rate, neither faster than the other. End the stroke just before your lower hand reaches your hip.
Everyone knows that exercising is one of most powerful things you can do to improve your health. Regular cardiovascular exercise makes your heart stronger and more efficient, burns calories, lowers your blood pressure and helps keep you mentally sharp. However, it is important to exercise properly to get optimum results and help you achieve your goals. With today's busy schedules, no one has time to waste on ineffective or inefficient exercise. Performing cardiovascular work at the correct level of intensity is essential. Exercise too hard and you risk injury and exhaustion or you may burn out and stop exercising altogether. On the other hand, if you don't work out hard enough, you may not get the results you want. The best way to measure intensity is to watch your heart rate as you exercise. According to the American College of Sports Medicine, your predicted maximum heart rate can be estimated by subtracting your age from 220. This is the maximum number of times your heart can beat in a minute. Then multiply that number by .55 and by .9 to find the range that is your heart rate training zone. For example, if you are 35 years old, you have a predicted maximum heart rate of 185 beats per minute (220-35 = 185). Your lower limit is 102 beats per minute (.55 x 185), and your upper limit in the zone is 166 (.9 x 185). Working in the appropriate training zone makes it easier to exercise for a sufficient period of time and to continue with an effective exercise program for weight loss or cardiovascular fitness," said James Skinner, Ph.D., Indiana University, and a member of the Life Fitness Academy Scientific and Medical Advisory Board. If you have a very low level of fitness or haven't exercised in a long time, 55 percent may be an effective place to begin your workouts, but a more conditioned person should work closer to 70 to 85 percent of his/her maximum heart rate. Depending on individual goals, most people who typically follow a regular exercise program should sustain at least 70 to 80 percent of their maximum heart rate for 20 to 60 minutes. There are several ways to monitor your heart rate, including manually checking your pulse, and through using a variety of equipment, such as a heart rate monitor or hand sensors on fitness equipment. Checking your pulse can be done by using the first two fingers of one hand to apply light pressure at the carotid artery on the neck or the radial artery in the wrist. Count the beats for 10 seconds and multiply by six to get your heart rate for one minute. Heart rate monitors, such as those available from leading manufacturer Polar®, include a chest strap and a wristwatch type receiver. The strap picks up your heart rate and the receiver displays the result, making it an accurate and convenient way to measure your heart rate. Finally, leading equipment manufacturers such as Life Fitness typically offer features on their equipment that measure your heart rate as well. Some allow you to wear your heart rate monitoring strap and the machine's console will display your heart rate (just like your wrist receiver would). Also, some equipment offers hand sensors that you can grip and the machine will measure your heart rate and transmit the reading to the console. Once your heart rate is determined, usually it is up to you to adjust your workout to keep your heart rate in your target zone. If your heart rate is too low, you may need to jog or pedal faster, for instance. If it is too high, you may want to slow down a bit. Some equipment, however, makes adjustments for you. For example, many machines from Life Fitness, including treadmills, elliptical cross-trainers, stairclimbers and Lifecycle upright and recumbent exercise bikes offer workouts that measure your heart rate and automatically adjust the level of resistance to keep your heart rate at the chosen level. Because the machine does the work here, this lets you just get on and go, without constantly having to monitor your heart rate. A heart that pumps more blood with each contraction is working efficiently, so it will not have to contract as often. This increased efficiency results in a lower resting heart rate, and a greater work capacity - which are signs of enhanced fitness. "Cardiovascular exercise is an important part of any consistent exercise routine if you want to improve your overall health, fitness and longevity," says Paul Thompson, M.D., director of the Preventive Cardiology Program at Hartford Hospital, Hartford, Conn. "Building a stronger heart is the best life insurance there is." When beginning any exercise program, it is important to first consult your physician. For assistance in developing a program that will help you exercise safely and ultimately achieve your fitness goals. Also check with your local fitness facilities for personal trainers who can help create a program for you and at your health club or when purchasing equipment for your home, look for cardiovascular equipment that monitors your heart rate and automatically adjusts resistance to keep you where you need to be. Source: Life Fitness Article Database
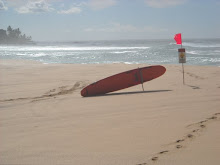
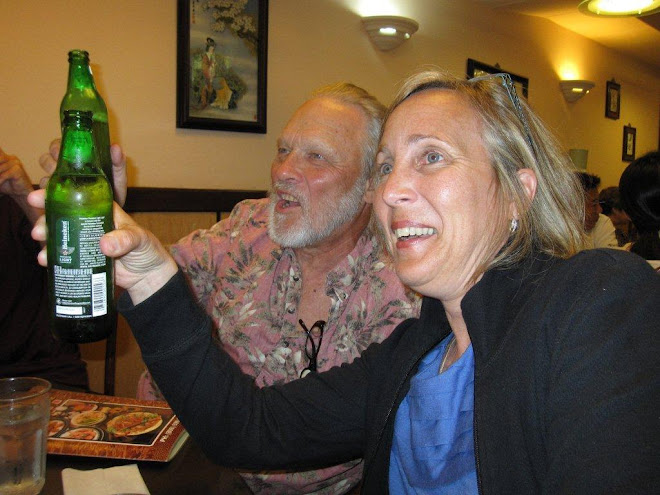
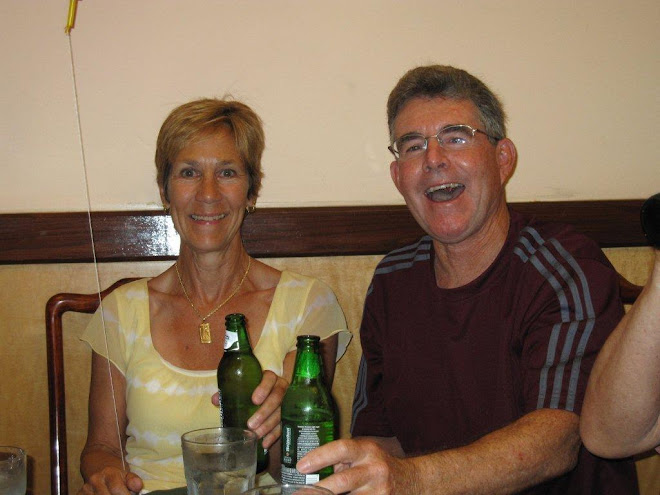
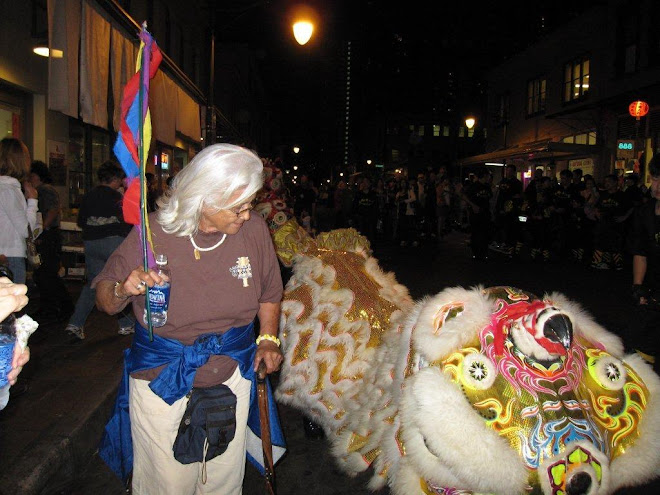
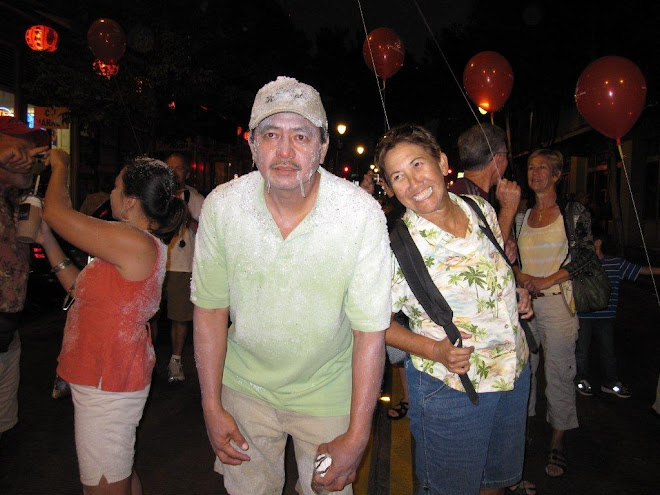
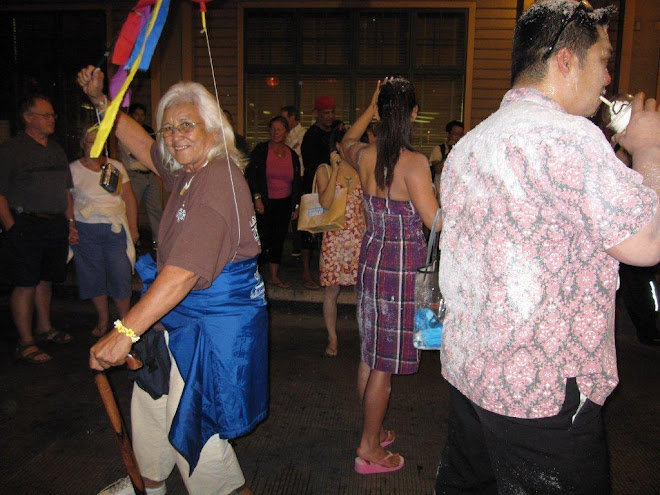
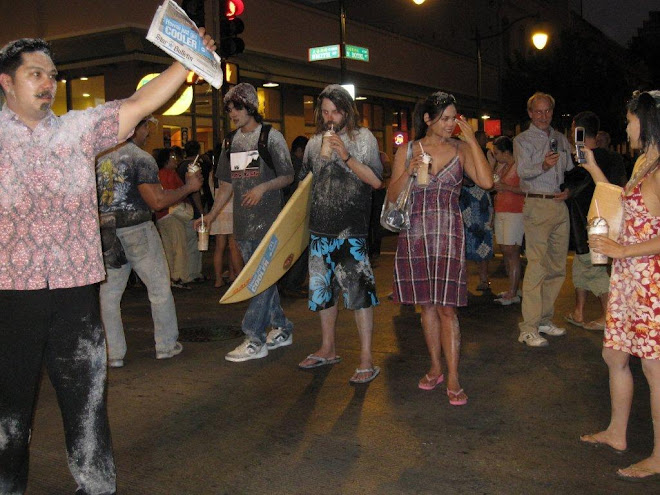
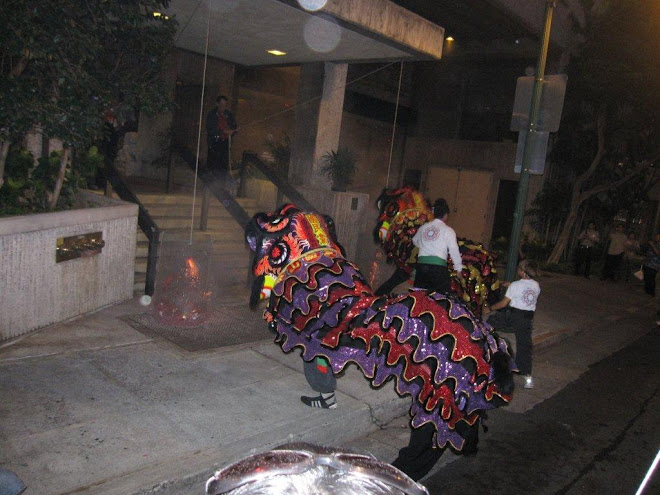
What Old People Do For Fun
SURFING OC 4
OC 1 VIDEO
Pokai Bay Video And Slack Key
Pokai Bay Forgivness Story
Humpback Whale Video
Pokai Bay Dolphins by Christina
Dolphin Stampede
Our beloved Georgia sent this one in.


.JPG)
.JPG)
.JPG)
.JPG)
.JPG)
.JPG)
.JPG)
.JPG)


.jpg)
.jpg)
.jpg)
.jpg)
.jpg)


No comments:
Post a Comment